Leer artículo en español
Ver artigo em português
<My Uploaded Files> refers to all the documents and links to web pages that you have uploaded and shared in Studio. In this section, you can upload different types of documents, which you can filter for a more efficient search.

You have 100 MB of storage available to upload files. The formats supported by the platform include:
- Audio
- Documents (.pdf, .docx)
- Links to web pages
- Images (.png, .jpg)
- Interactive content
- Videos (.mp4, .mov)

To upload a new file or share a link, click on <Upload Files> or <Upload Web Link>.

Upload File
To upload a file:
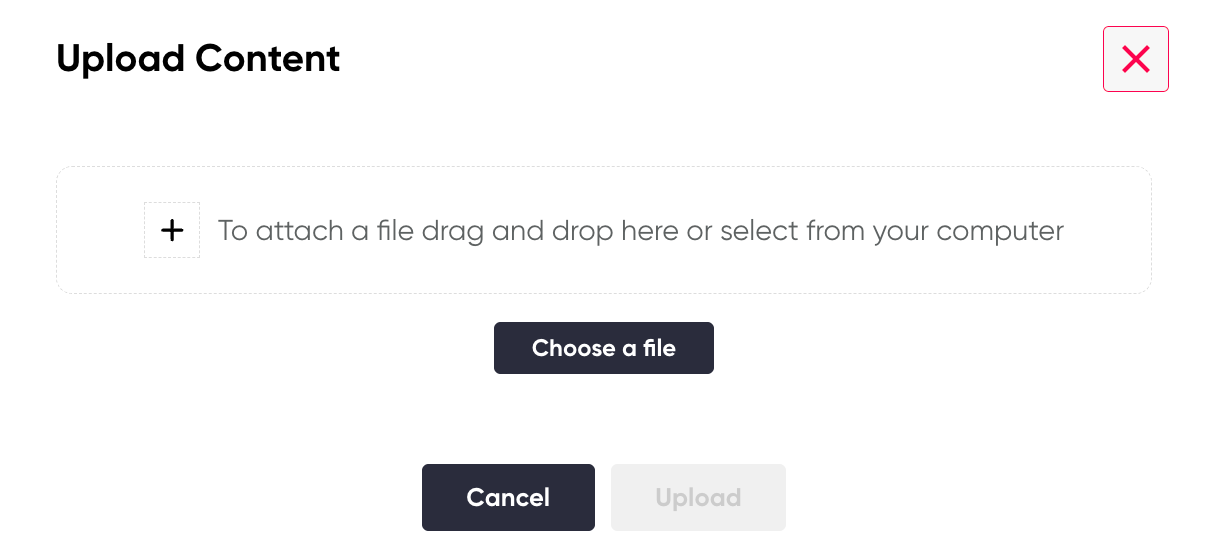
- Locate and select the <Upload File> option.
- A file explorer window will open. Browse your folders and select the file you want to upload. Then, click <Open>.
- You will see a progress bar indicating that the file is being uploaded. Wait until it finishes and look for the successful upload message at the top of the screen.
- Once the upload is complete, the file should appear in the content list.

Upload Web Link
If you select <Upload Web Link>, you will be asked to enter or paste the link you wish to share in the corresponding field. Make sure to enter the link accurately and completely so that recipients can access the desired content without any issues.
After completing the necessary steps based on the selected option, be sure to review and verify that the file has been uploaded correctly or that the link has been entered properly. This process ensures that the shared or uploaded resources are available and accessible to users on the platform.

Uploaded files can be edited, deleted, or shared; to do so, you must select the corresponding file to enable the Edit, Delete, and Share options.

Edit
To edit an uploaded file, select this option. You will be able to modify the title, write a description, and choose the content type. Additionally, you can enable or disable the center app. This last option only appears when the file is shared with a class. (Coming soon).
Share
To share, select this option and choose which class you want to share the selected file or link with.

The <Share> icon turns blue when the file or link is shared with a class.
Delete
To delete, select this option and confirm the action, as it cannot be undone.

Using filters allows you to organize, explore, and analyze items more efficiently and accurately. These options are designed to enhance your experience when interacting with available content by simplifying the search and selection of the information you need.
You can use the filter by selecting the desired option:
- By class: This filter allows you to group items according to the class they belong to.
- By document type: By selecting this option, you can sort and review items based on the type of document they correspond to.
| Class filter | Document type filter |
|---|---|
|
|


Files can be sorted by:
|
 |